

How to Get a Verified Blue Checkmark on Gmail: Are you a marketer looking to enhance your brand’s credibility and gain the trust of your email recipients? Gmail’s new blue checkmark verification, also known as blue tick verification, holds the key to achieving just that! This exciting feature allows users to identify messages from legitimate senders, providing an added layer of security and authenticity to your email communications.
In this guide, on How to Get a Verified Blue Checkmark on Gmail we will take you through the step-by-step process of obtaining the coveted blue checkmark on your Gmail account. By following these instructions and meeting the necessary prerequisites, you can leverage the power of the blue checkmark to establish a strong brand identity and ensure your emails stand out in your recipients’ inboxes.
Table of Contents
Get ready to unlock a world of email verification and brand recognition as we walk you through the process of obtaining the blue checkmark on Gmail. Whether you’re a business owner, a marketer, or anyone who wants to ensure their emails are perceived as trustworthy and legitimate, this guide is for you.
So, let’s get started on this journey to strengthen your brand’s reputation and build lasting trust with your audience through Gmail’s blue checkmark verification!
How to Get a Verified Blue Checkmark on Gmail

Introduction
Gmail’s new blue checkmark verification holds significant benefits for marketers. This verification feature allows users to identify emails from legitimate senders, thereby increasing trust in email sources.
What is the Blue Checkmark on Gmail?
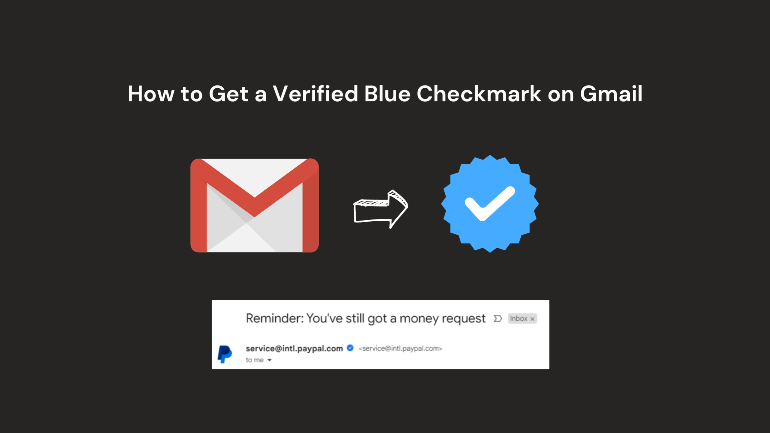
The blue verified checkmark on Gmail indicates that the sender’s identity has been confirmed by Google. This enhances brand trust and provides better email verification and brand identity recognition for marketers. It ensures that emails are genuine and not spam or phishing attempts. The feature is available to all Google Workspace users, providing enhanced email verification and brand recognition.
Why is the Blue Checkmark Important for Marketers?
With the blue checkmark, Gmail users can trust messages from verified senders, knowing they are from legitimate sources. Google has implemented various measures to ensure users’ safety and security, and the blue checkmark adds an extra layer of credibility. How to Get a Verified Blue Checkmark on Gmail
Prerequisites for Getting the Blue Checkmark
Before diving into the verification process, you’ll need the following:
- A trademarked logo
- Knowledge of DNS (Domain Name System)
- Access to your DNS provider (e.g., GoDaddy, NameCheap, Cloudflare)
- Knowledge of working with .SVG files
Step-by-Step Guide to Set Up SPF, DKIM, and DMARC
SPF (Sender Policy Framework)
Add the following TXT record to your DNS
v=spf1 include:_spf.google.com ~allDKIM (DomainKeys Identified Mail)
- Go to the Google Workspace Admin Console.
- Click on Apps > Google Workspace > Gmail > Authenticate email.
- Follow the instructions provided to set up DKIM for your domain. You’ll need to add another record to your DNS specific to your domain.
DMARC (Domain-based Message Authentication, Reporting, and Conformance)
- Create a policy record with the following:
v=DMARC1; p=reject; rua=mailto:postmaster@yourdomain.com; pct=100; adkim=s; aspf=s(replace “yourdomain.com” with your actual domain)
- Add a DNS TXT record for _dmarc.yourdomain.com with the DMARC record text
Setting Up VMC (Verified Mark Certificate)
- Google requires your logo to be trademarked and registered with a Verified Mark Certificate authority (VMC). You can use services like DigiCert or Entrust for this purpose.
- After obtaining the certificate, upload it to your website as a publicly accessible asset.
Setting Up BIMI (Brand Indicators for Message Identification)
- Convert your logo to a Tiny SVG 1.2 format using conversion tools.
- Make sure it adheres to the BIMI guidelines and verify it with the provided tool.
- Upload the SVG logo to your website and ensure it’s publicly accessible.
- Create your BIMI record using the generation tool and add it to your DNS as a TXT record, along with links to your logo and the PEM certificate issued by your VMC provider.
Confirming Success and Verifying Your Logo
To ensure everything is set up correctly, use the BIMI inspector tool to check if your records have propagated. Once you send emails through Gmail, your recipients should see a blue checkmark next to your name, indicating a successful verification.
Congratulations! You’ve successfully obtained the blue checkmark for your Gmail account. This verification will boost your brand’s credibility and enhance trust among your audience. Happy emailing! How to Get a Verified Blue Checkmark on Gmail


Leave a Comment