

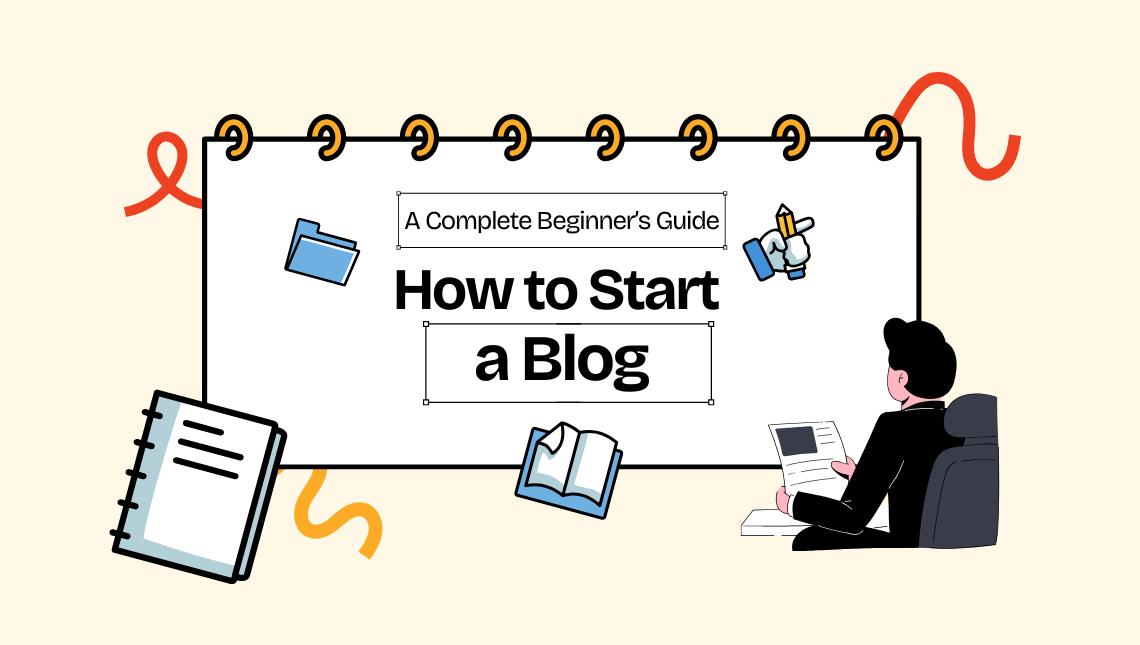
Learn how to start a blog in 2026 with this complete beginner-friendly guide. Understand niches, platforms, Blogger, and WordPress setup, and write your first article in simple English.
In this beginner-friendly guide from SharfsLab.com, I’ll walk you through everything from understanding what a blog is to setting up your first one on Blogger or WordPress.
What Exactly Is a Blog?
A blog is basically your own personal space on the internet, a place where you can write your thoughts, share knowledge, explain ideas, or talk about anything you feel strongly about.
Think of it as an online diary, but instead of keeping it personal, you share it with the whole world. Anyone who visits your blog can read your articles, learn from them, and even respond through comments.
Why Choosing a Niche Matters
Before you even think about creating your blog, buying a domain, or writing your first post, there is one step that matters more than everything else: choosing your niche.
Many beginners rush into blogging because they want to earn money fast, or because they feel excited after seeing successful bloggers online. But the truth is, the foundation of a successful blog is a carefully selected topic.
Your niche is what you will start a blog and write about regularly, what your blog will become known for, and what your readers will trust you for. If you select the wrong niche, you will quickly lose interest, run out of content ideas, or fail to attract the right audience.
A perfect niche is a blend of your interests, audience demand, and earning potential. Once your niche aligns with these three factors, the path to building a successful blog becomes much smoother.
How to Select Your Perfect Niche in 2026
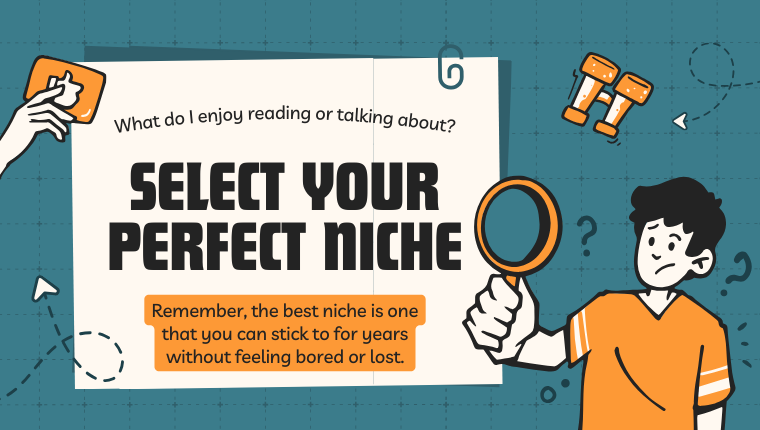
Selecting a niche is more like understanding yourself deeply. Start by asking, “What do I enjoy reading or talking about?” If you naturally enjoy a topic, writing about it becomes easier and more sustainable. Then, check whether people are searching for that topic online. Even if you love something, it won’t help your blog grow if no one is interested in reading it.
The final factor is whether the niche can help you earn. For example, tech blogs can earn from product reviews and affiliate links. Finance blogs can earn from investment platforms. Food blogs can earn from recipe videos or cookware links.
Every niche has its own pathway to earning; you just need to choose one that matches your long-term goals.
Remember, the best niche is one that you can stick to for years without feeling bored or lost.
Why 2026 Is the Best Time to Start a Blog

If you’ve been thinking about starting a blog for years but never got around to it, let me tell you honestly, 2026 is the perfect year to finally start. The internet has changed a lot. Earlier, blogging was mostly written for search engines, filled with keywords and robotic language.
But now readers want real, genuine human content. They want to hear stories, experiences, and practical advice in simple language. And this shift has created a huge opportunity for new bloggers.
Another reason 2026 is perfect is that people are relying more than ever on digital platforms for learning, earning, and exploring new ideas. Whether someone wants to cook a recipe, buy a product, or learn a skill, they search online.
Choosing the Right Platform
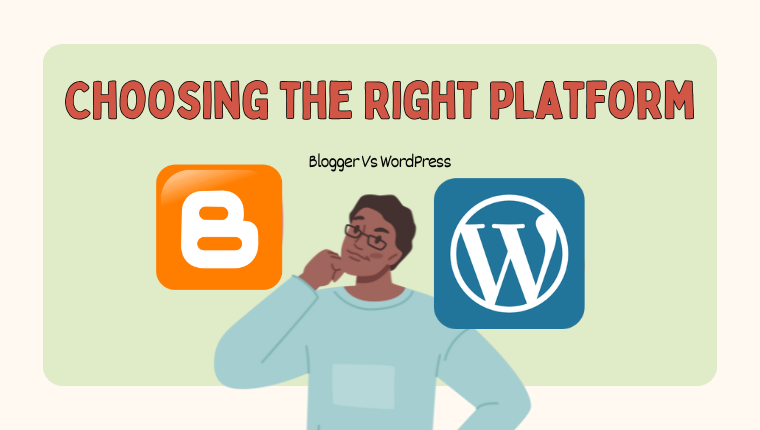
Blogger
Blogger.com is perfect for absolute beginners. It is 100% free, simple to use, and fully managed by Google. You don’t need any hosting or technical knowledge.
Just create your account, pick a name, and start writing. It’s ideal for students, hobby writers, or anyone who wants to explore blogging without spending money.
WordPress
WordPress.org, however, is the best choice for long-term bloggers who want full control of their site. You buy a domain and hosting, install WordPress, and enjoy complete freedom to design your blog the way you like.
It has thousands of themes, plugins, and tools that help you grow faster. Yes, it takes a little learning in the beginning, but the long-term benefits are unmatched.
How to Set Up, Create, and Publish a Blog Post on Blogger.com
Blogger.com is one of the easiest platforms for complete beginners. You don’t need hosting, coding, or any technical knowledge. Everything works with your Google account and start a blog.
Let’s begin step-by-step.
Step 1: Go to Blogger.com and Sign In
Open your browser and visit: https://www.blogger.com/
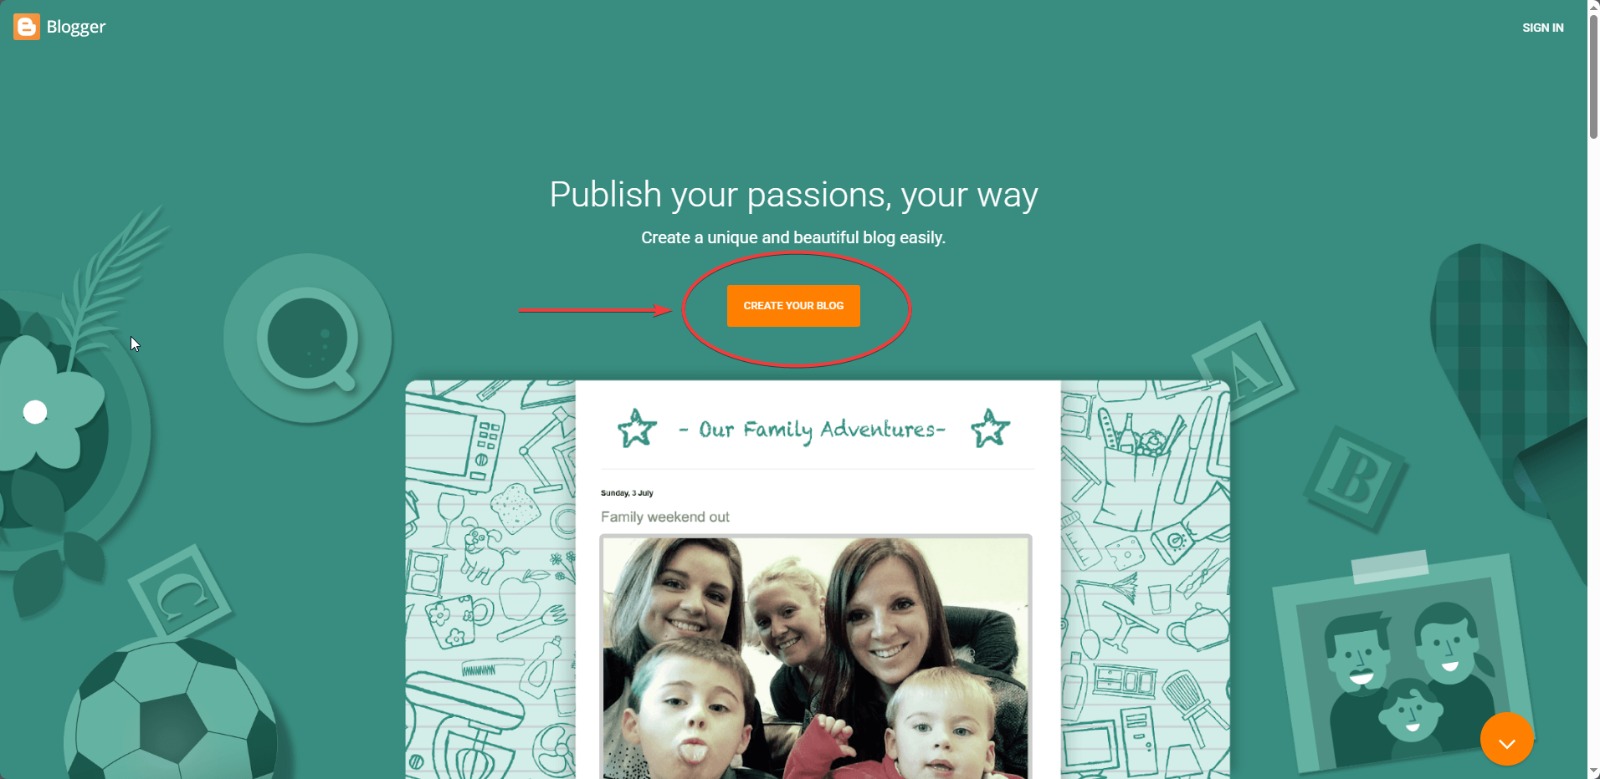
You will see a clean page with a button saying “Create Your Blog.” Click on that.
It will ask you to sign in with your Google/Gmail account. Once you sign in, you will enter your Blogger dashboard.
Step 2: Choose Your Blog Title
The first thing you will see is a box asking for your Blog Title.
This is the name of your blog. Choose something simple like:
- “My Cooking Ideas”
- “Tech Tips by Sharf”
- “Travel with Sharf”
- “How to Start a Blog”
You can change this later if needed.
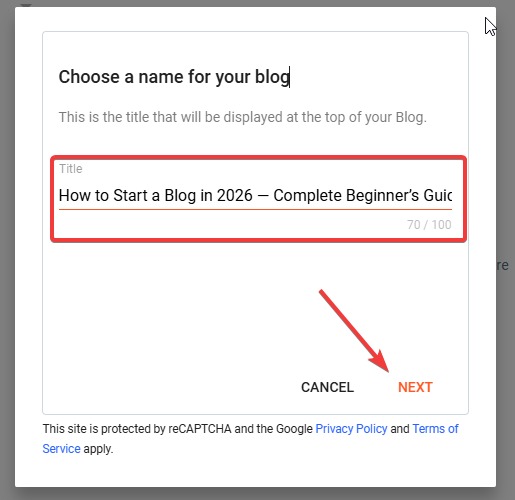
Click Next.
Step 3: Choose Your Blog Address (URL)
Now Blogger will ask you to choose your blog address, also called URL.
Example:mycookingideas.blogspot.com
learnwithsharf.blogspot.com
Try a few names until Blogger accepts it.
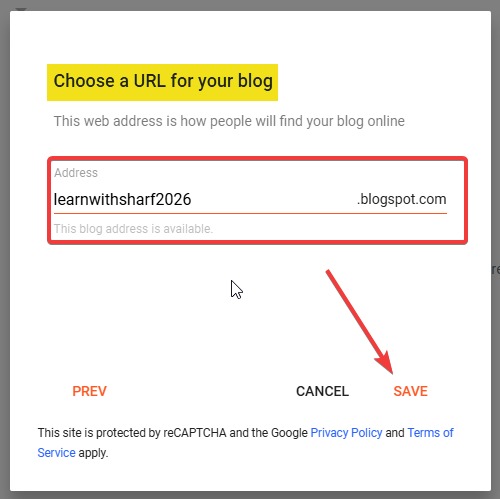
Click Save.
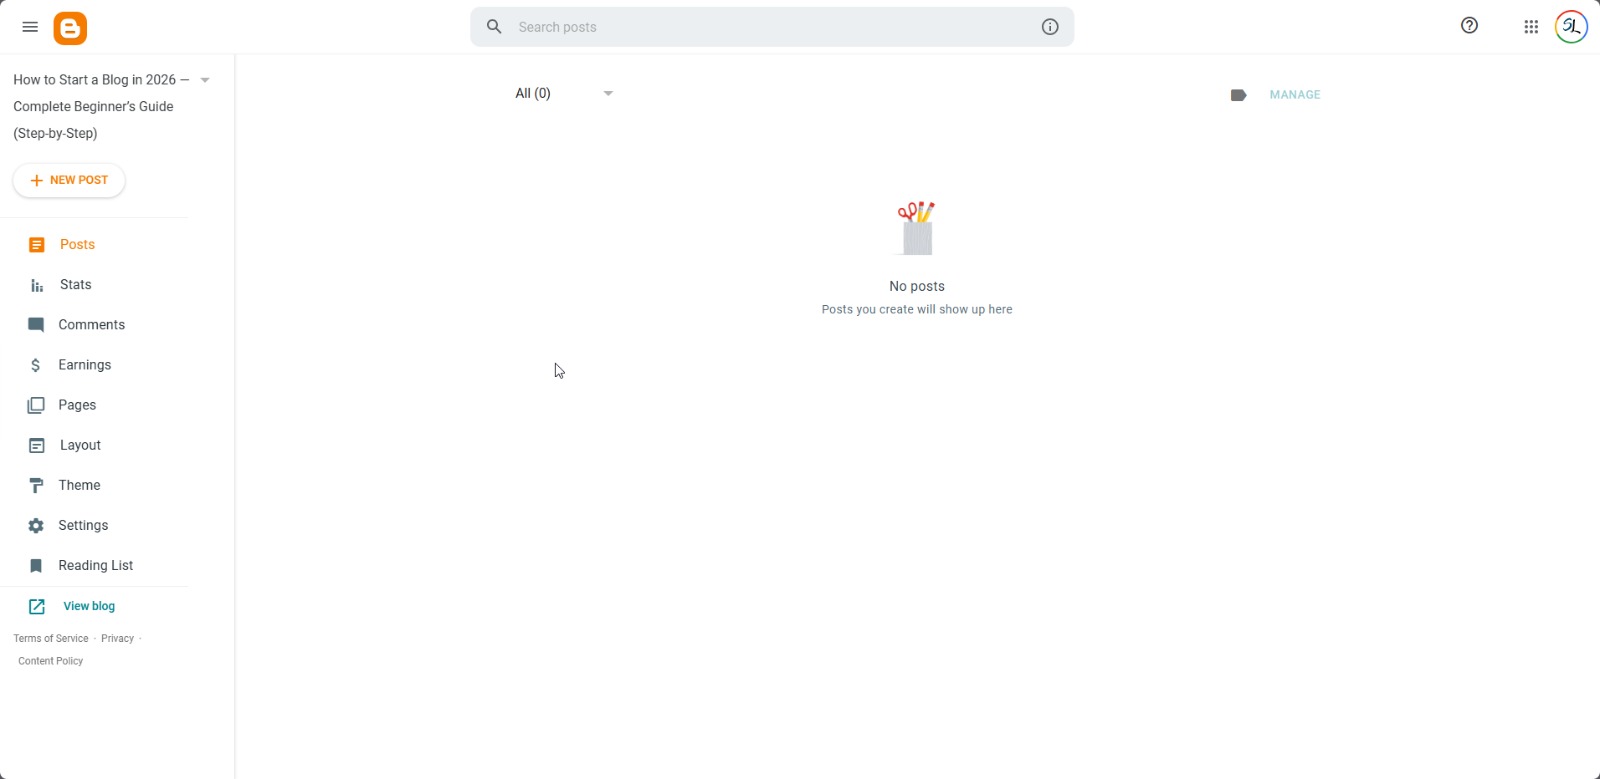
Step 4: Your Dashboard – This Is Where Everything Happens
Now you will see the Blogger dashboard on the left side:
- Posts
- Pages
- Layout
- Theme
- Settings
Most of your work will happen inside Posts.
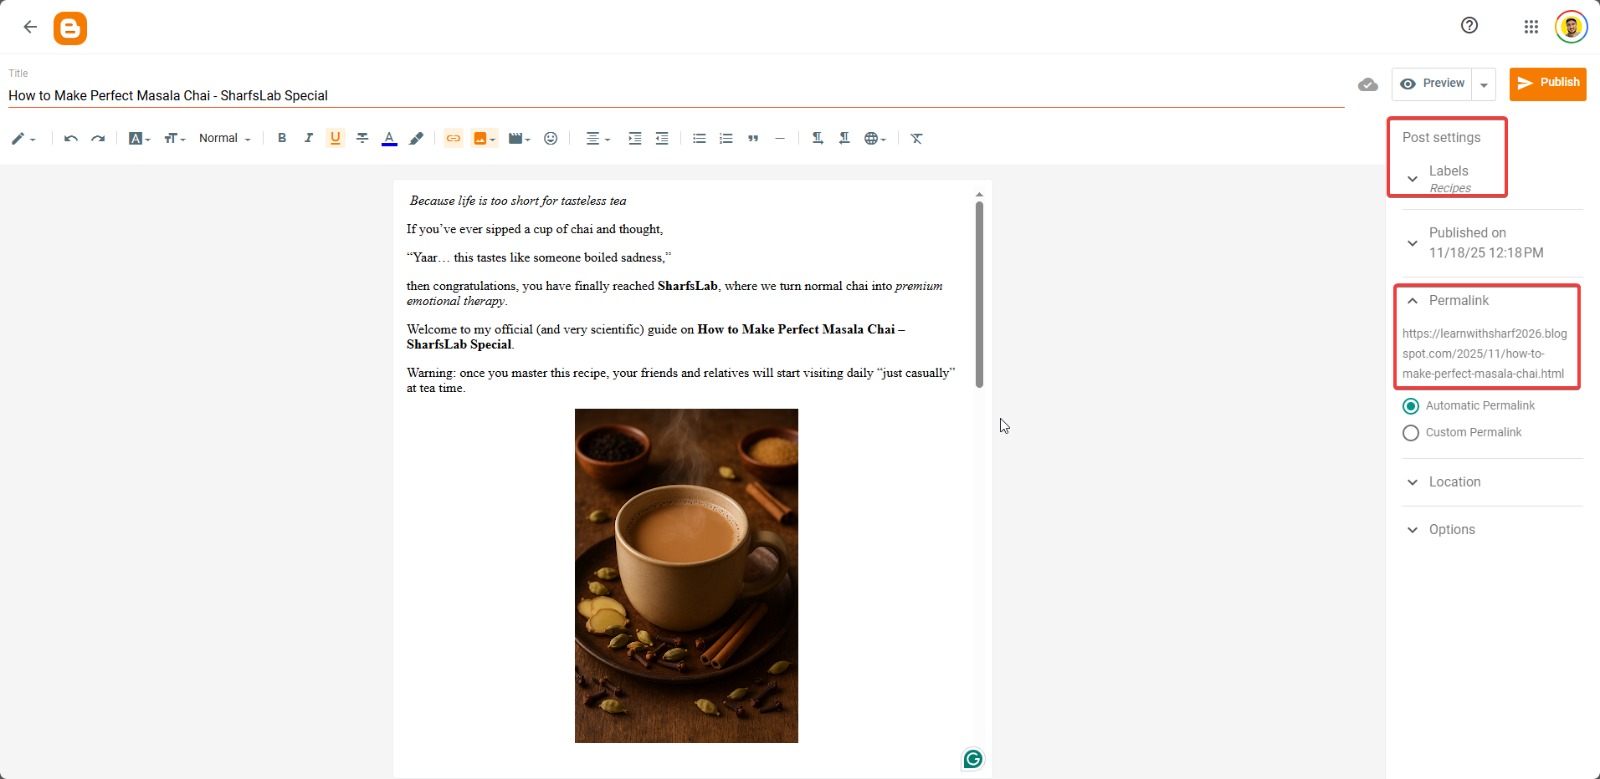
Step 5: Create Your First Blog Post
On the left, click Posts → New Post.
This will open a writing editor that looks like a simple Google Docs page.

Here you can:
- Write your title
- Write your article
- Add images
- Format text (bold, underline, bullets)
This is where your entire blog post is created.
Step 6: Write Your Article in Simple Style
Write your blog post as if you are explaining to a friend. Use small paragraphs.
Example format:
Title:
How to Make Perfect Masala Chai
Body:
Start with a short introduction.
Explain the steps in clear and simple words.
Add pictures in between.
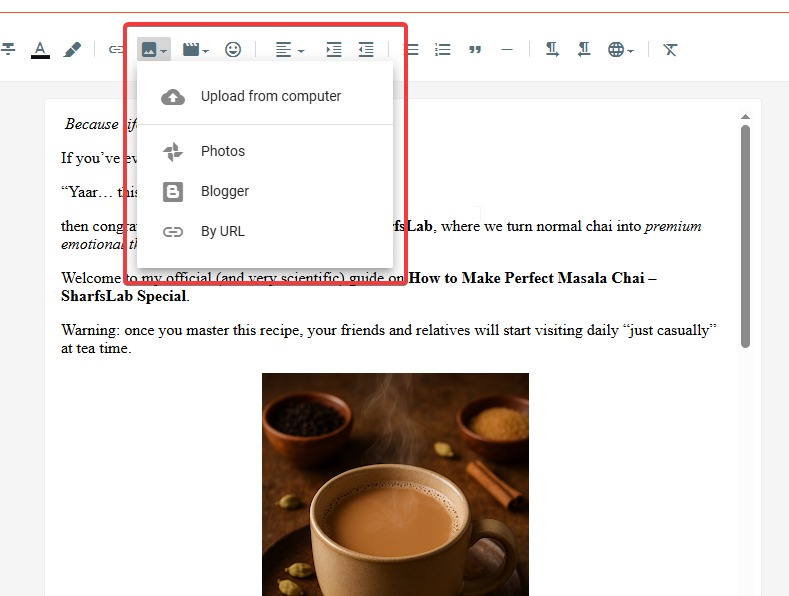
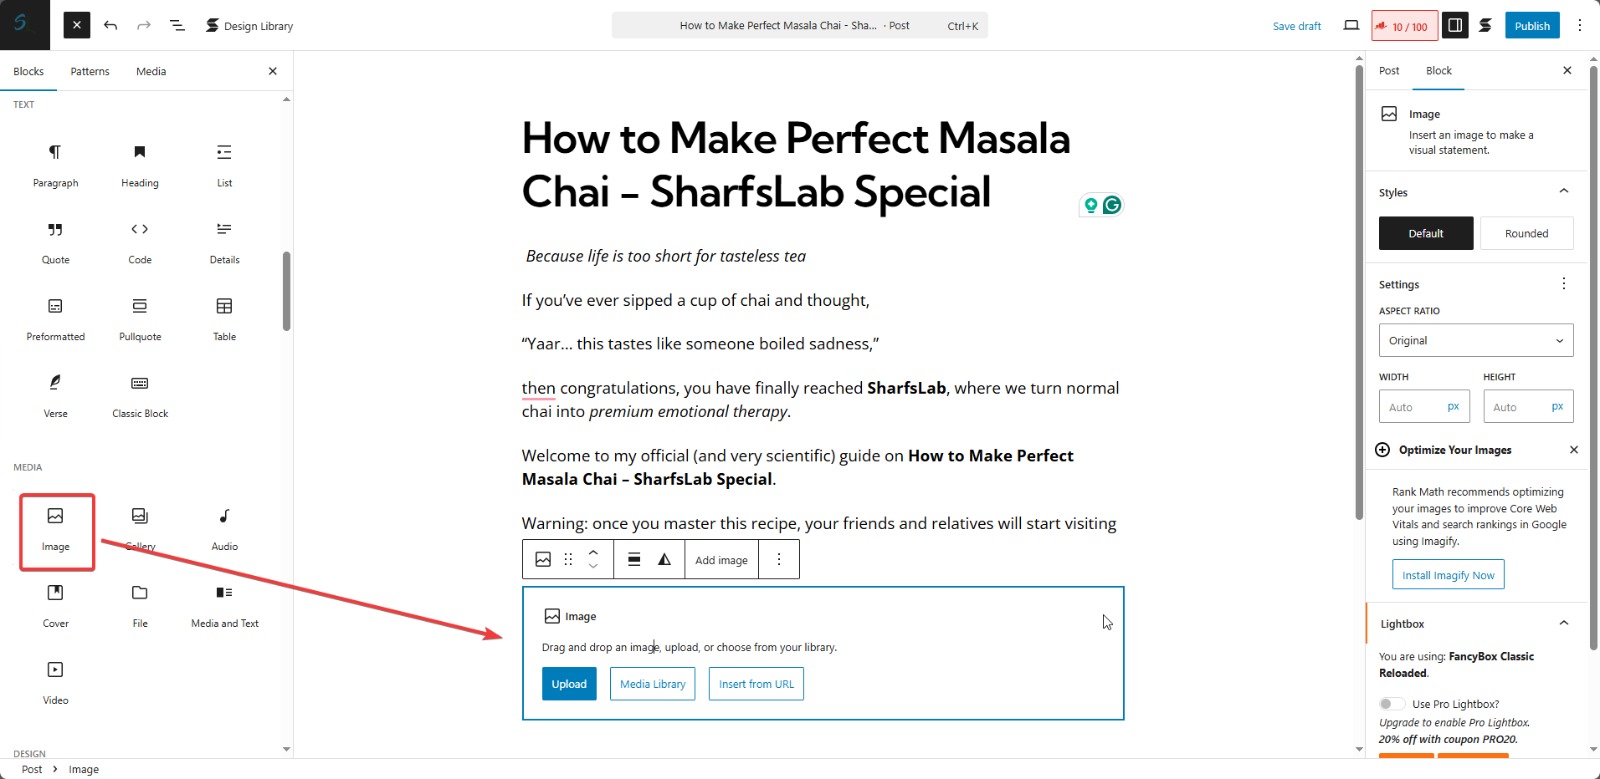
Step 7: Add Images or Screenshots
Click on the small image icon in the toolbar.
You can upload:
- Screenshots
- Photos
- Infographics
Images make your post more interesting and readable.
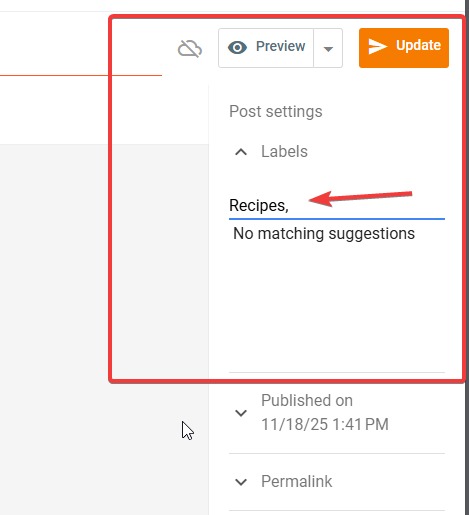
Step 8: Labels (Important for SEO)
On the right side, you will see Labels.
Labels are like categories (e.g., “Recipes”, “Tech Tips”, “Travel”).
Add 2–4 labels max.
Step 9: Preview Your Blog Post
Before publishing, click Preview to check how your article looks.
If something is messy, go back and edit.
Step 10: Publish Your Post
Now click the Publish button at the top.
Blogger will ask for confirmation press Confirm.
Your blog post is now live on the internet!
You can view it anytime by clicking View Blog on your dashboard.
How to Set Up and Publish a Blog Post on WordPress
WordPress is slightly advanced but very powerful. Most professional bloggers and big websites use it to start a blog.
This guide is for WordPress.org (self-hosted).
Step 1: Buy a Domain and Hosting
To use WordPress.org, you need:
- A domain name (example.com)
- A hosting service (Hostinger, Bluehost, GoDaddy etc.)
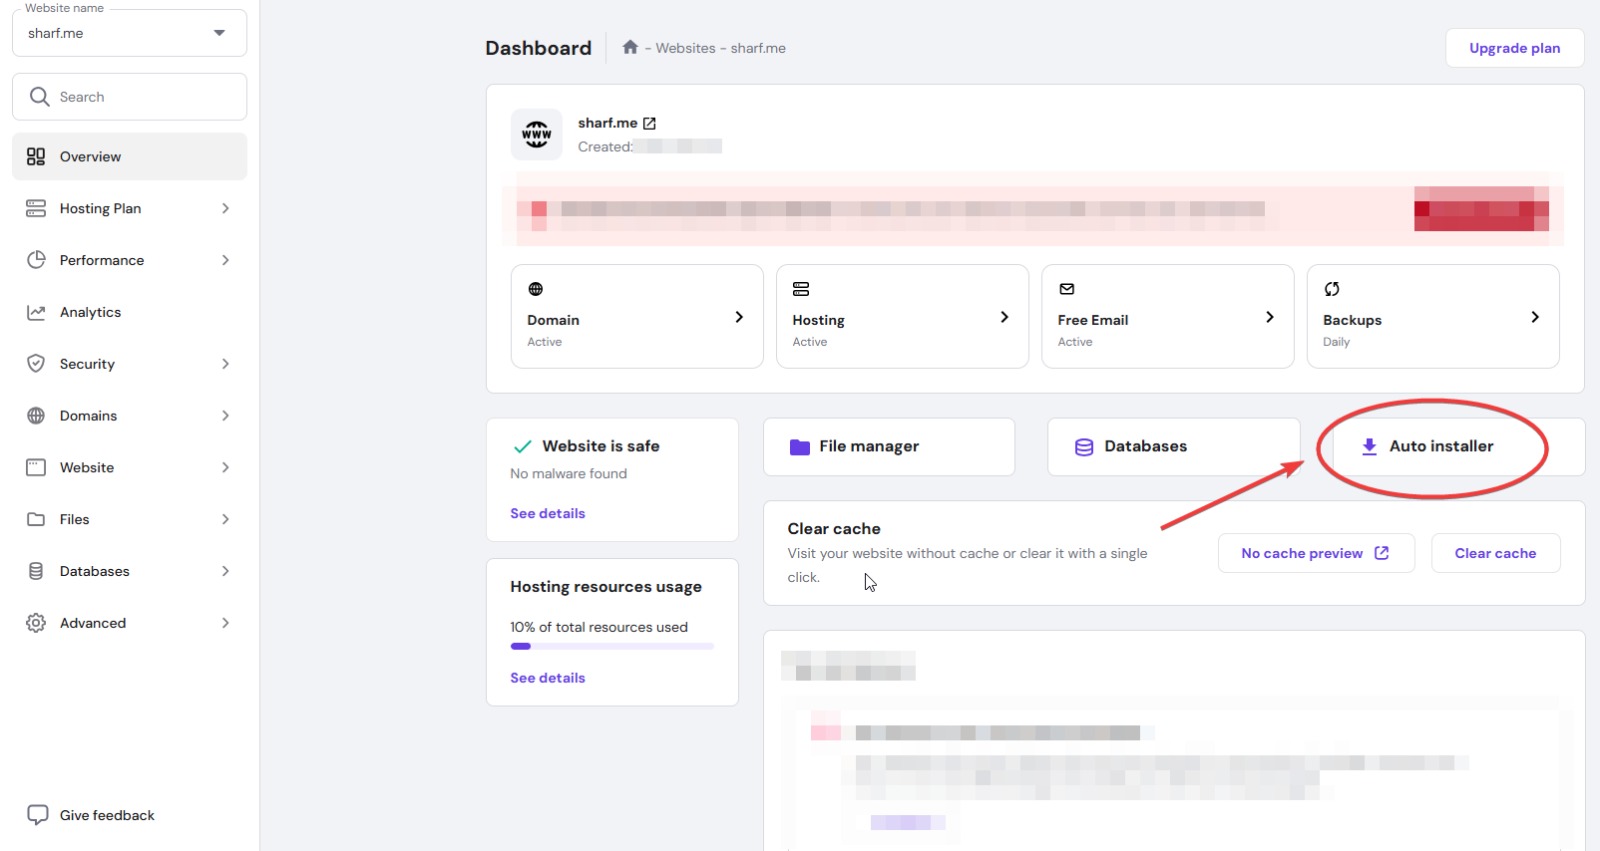
After purchase, your hosting provider will give a Dashboard button.
Click Auto Installer as shown in below photo. (Note: Hosting provider may differ, you can search for Auto Installer anyhow)
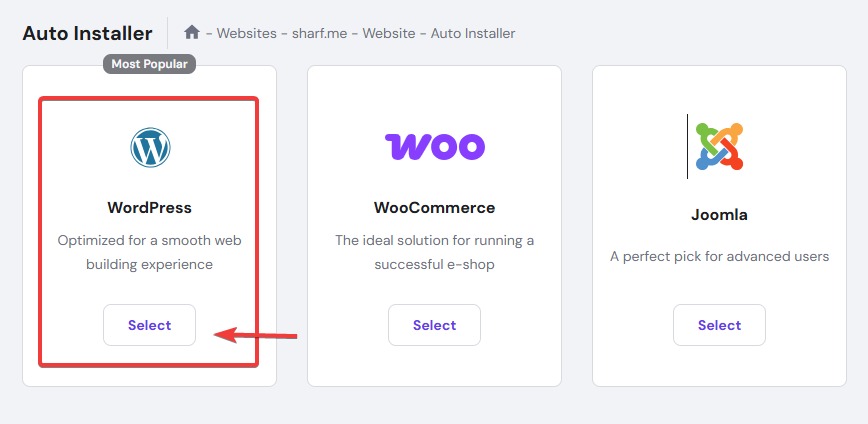
Then select, WordPress from the listed Apps
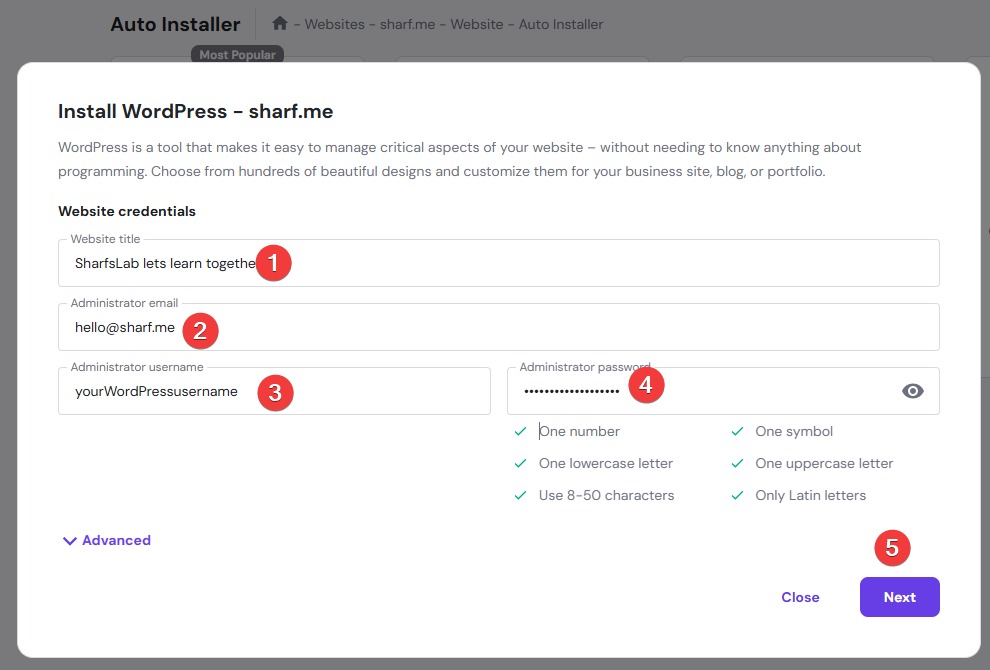
Create your login credentials and click Next
Step 2: Log In to WordPress Dashboard
Once installed, your login URL will look like:
yourwebsite.com/wp-admin
Enter your username and password.
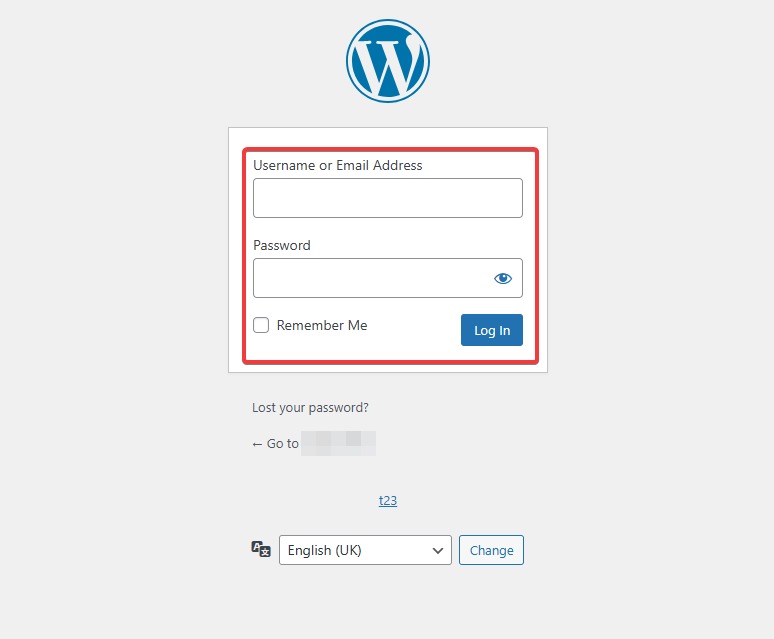
You will reach the WordPress dashboard.
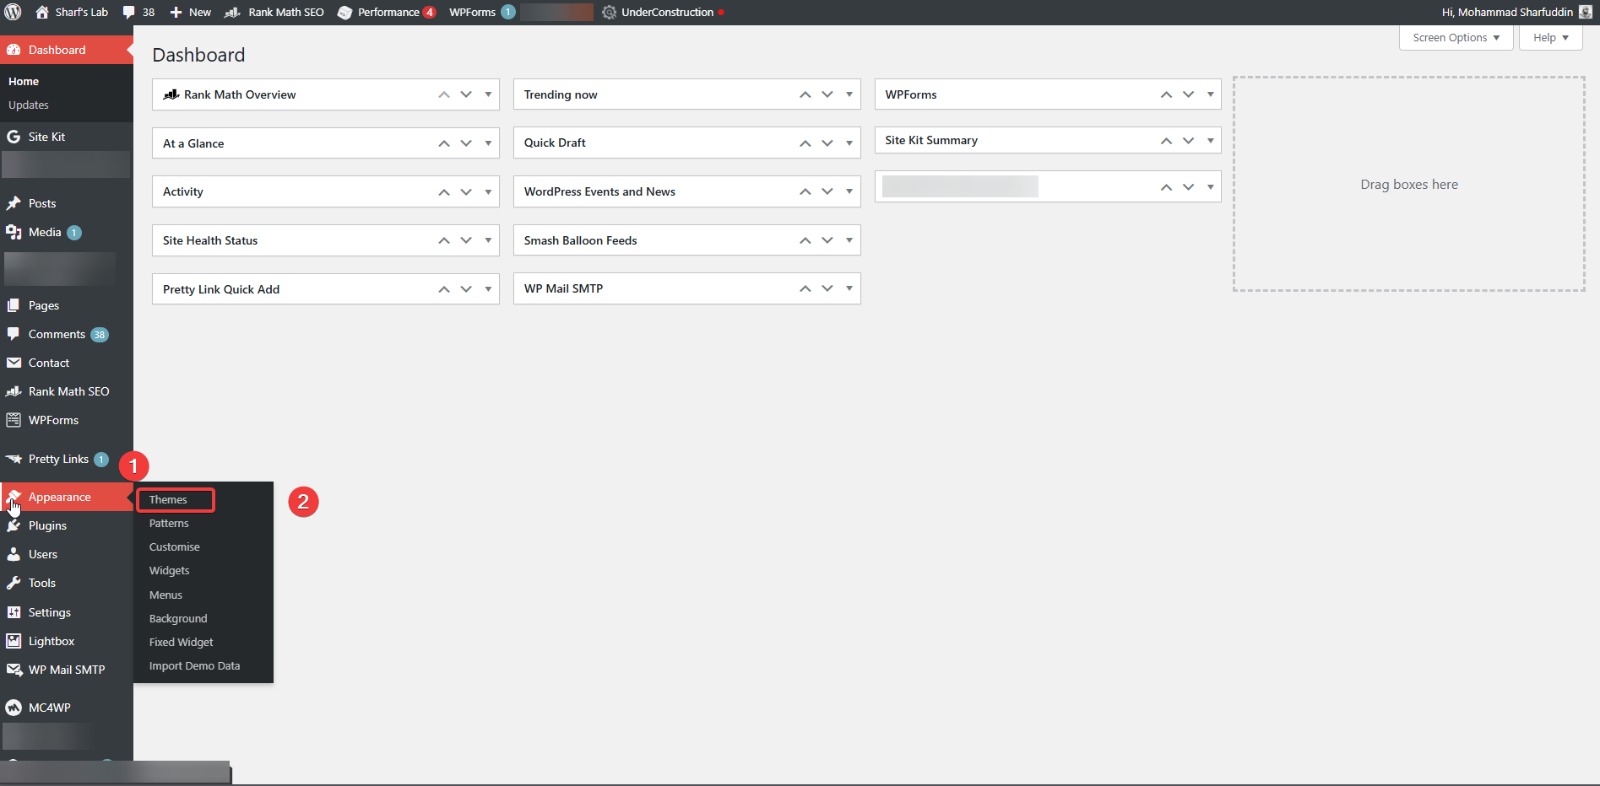
Step 3: Choose a Theme
Go to:
Appearance → Themes → Add New
Choose a clean theme like:
- Astra
- Kadence
- GeneratePress
Click Install then Activate.
Step 4: Install Essential Plugins
Go to:
Plugins → Add New
Important beginner plugins:
- RankMath SEO (for search engine ranking)
- Classic Editor or Gutenberg (writing tool)
- SiteKit by Google (Analytics & AdSense)
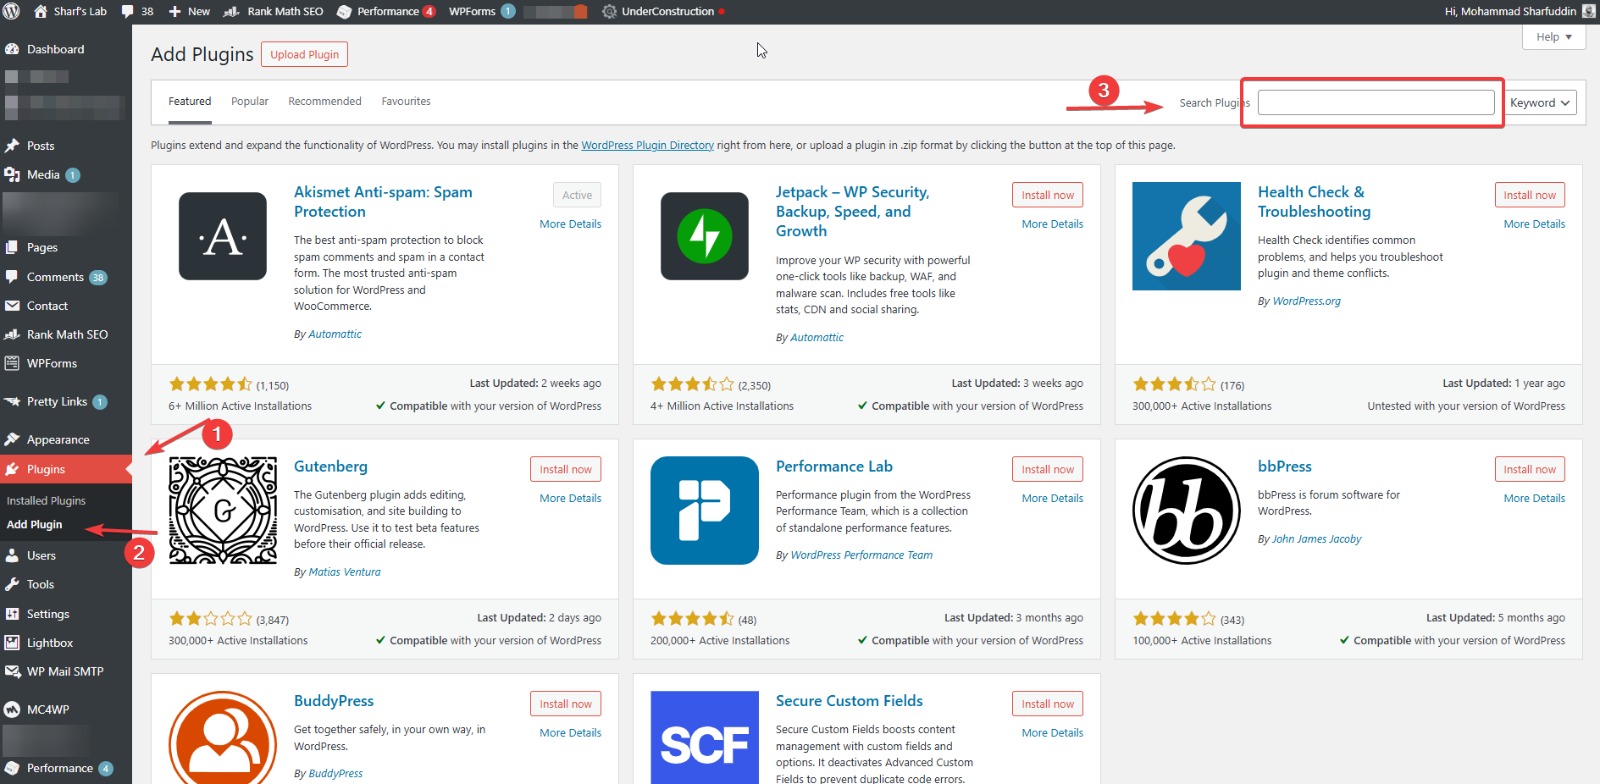
Install and activate.
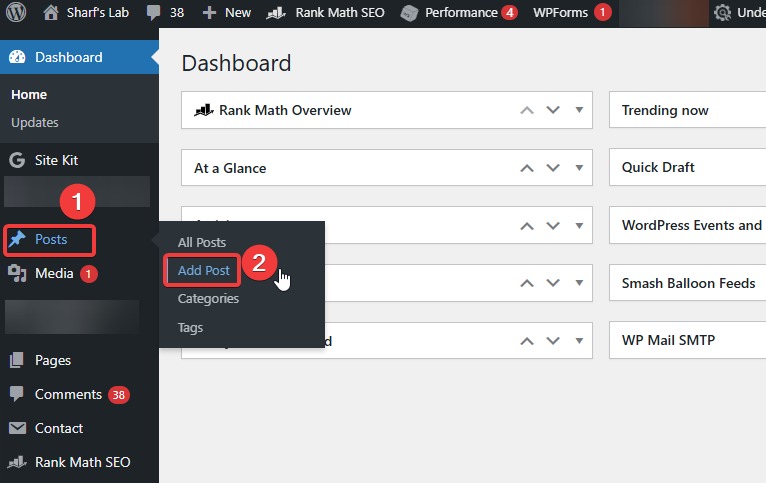
Step 5: Create Your First Blog Post
Go to:
Posts → Add Post
This opens the editor.
If you use Gutenberg, you’ll see block-style editing.
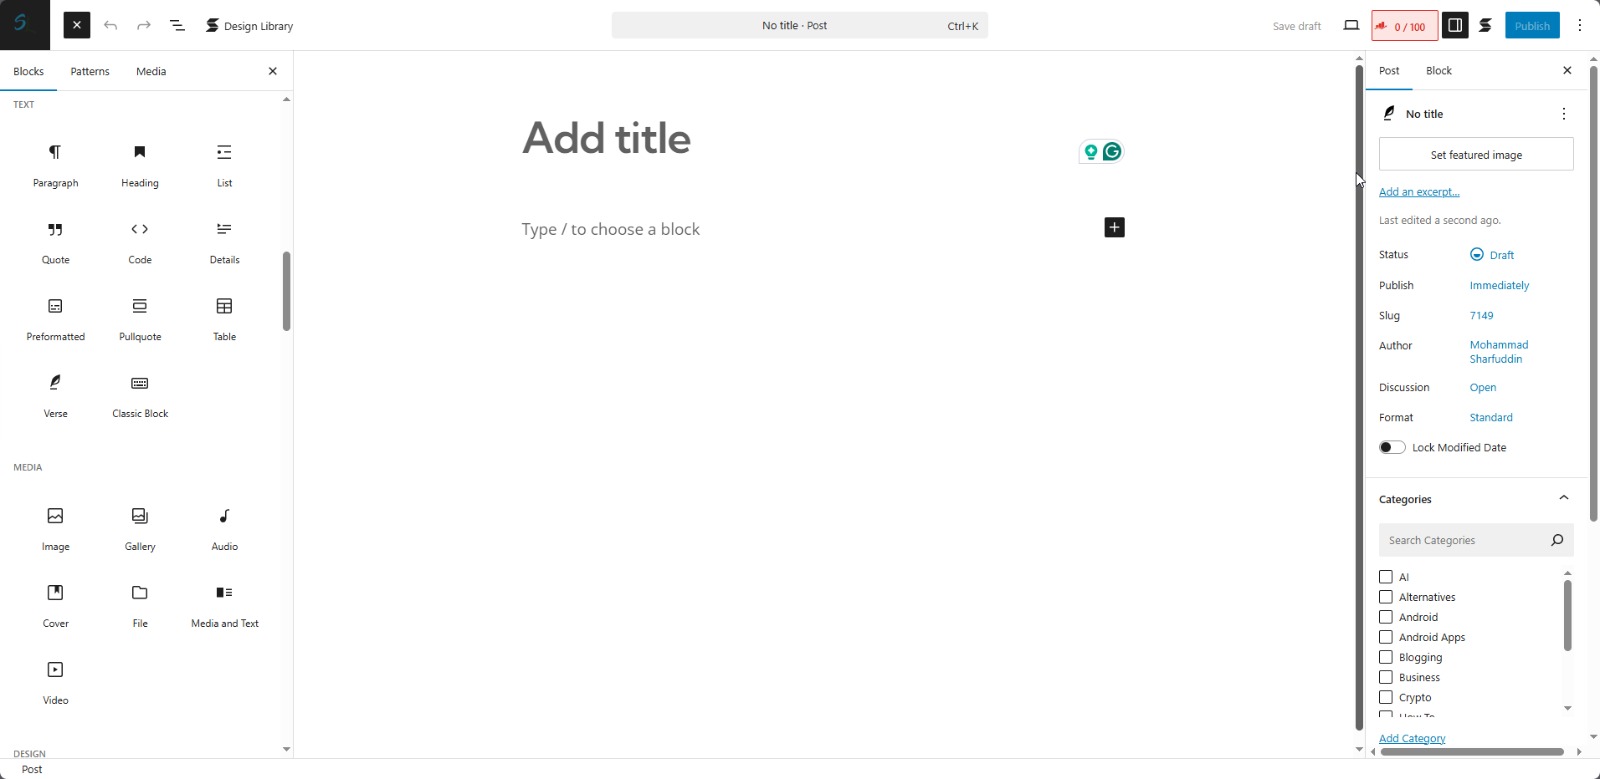
Add a good title and start writing your article in the content box.
Write naturally and clearly.
Step 6: Add Images
Click the + button → Select Image block.
Upload your photos or screenshots.
Step 7: Add Categories and Tags
On the right side, you will see:
- Categories
- Tags
Categories are your main topics
Tags are small keywords.
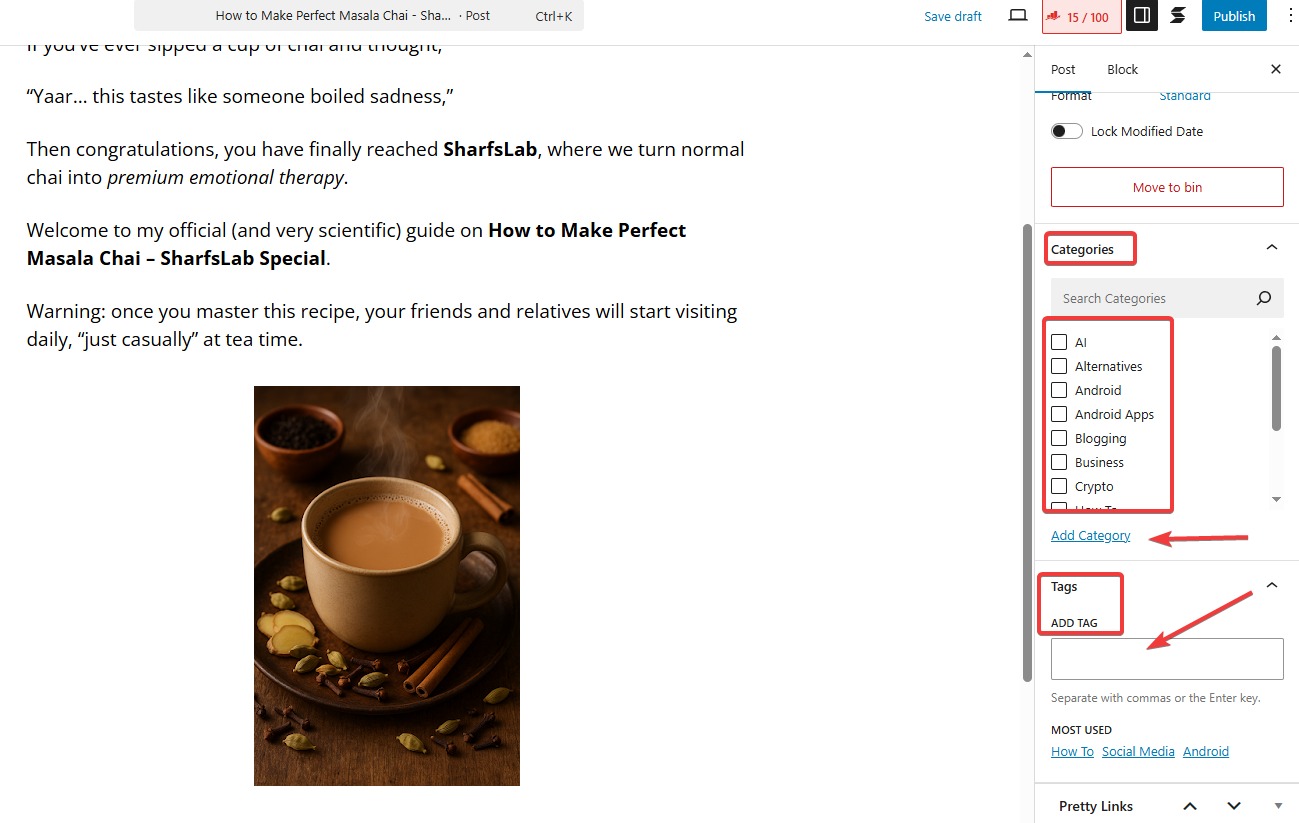
Example:
Category → Cooking
Tags → tea, masala chai, Indian recipe
Step 8: Add Featured Image
Scroll down to Featured Image and upload a good picture.
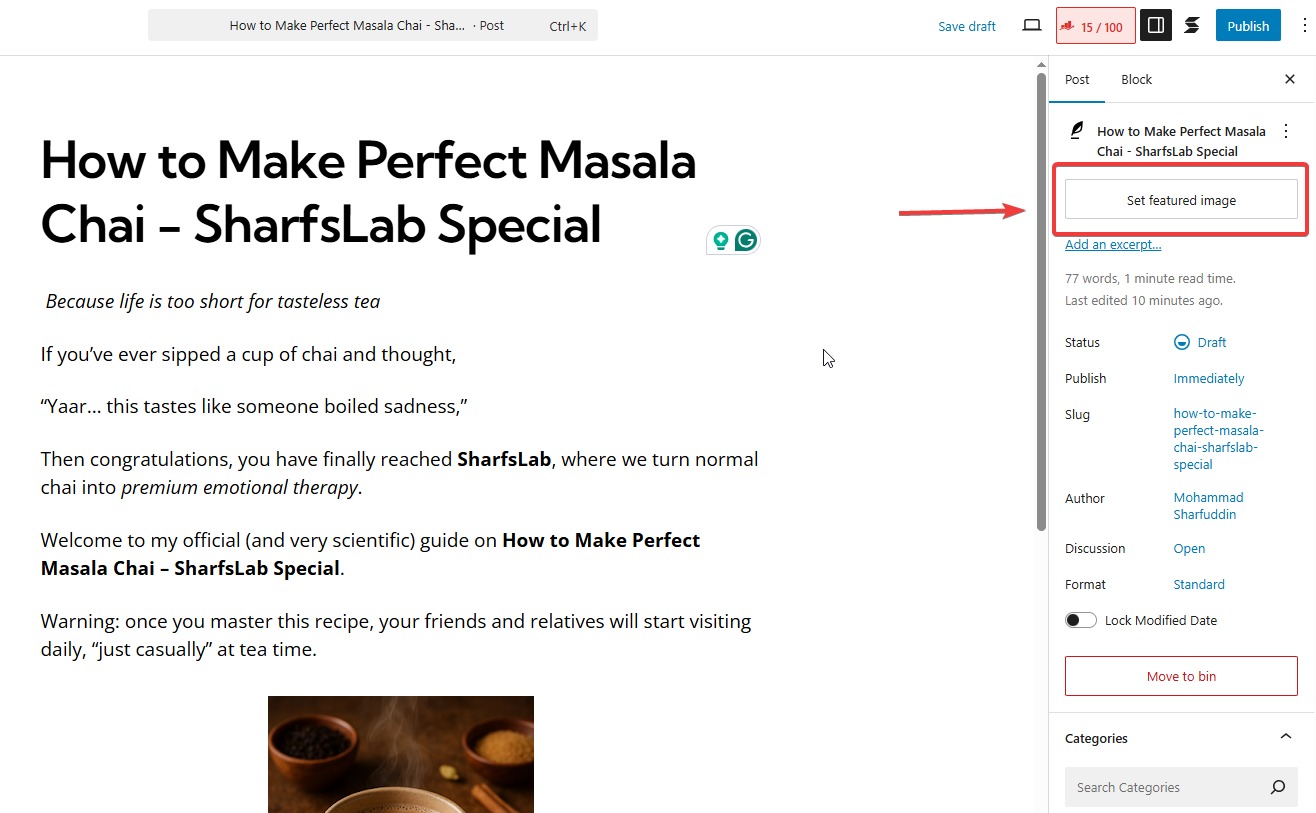
This image shows up on your homepage and social media shares.
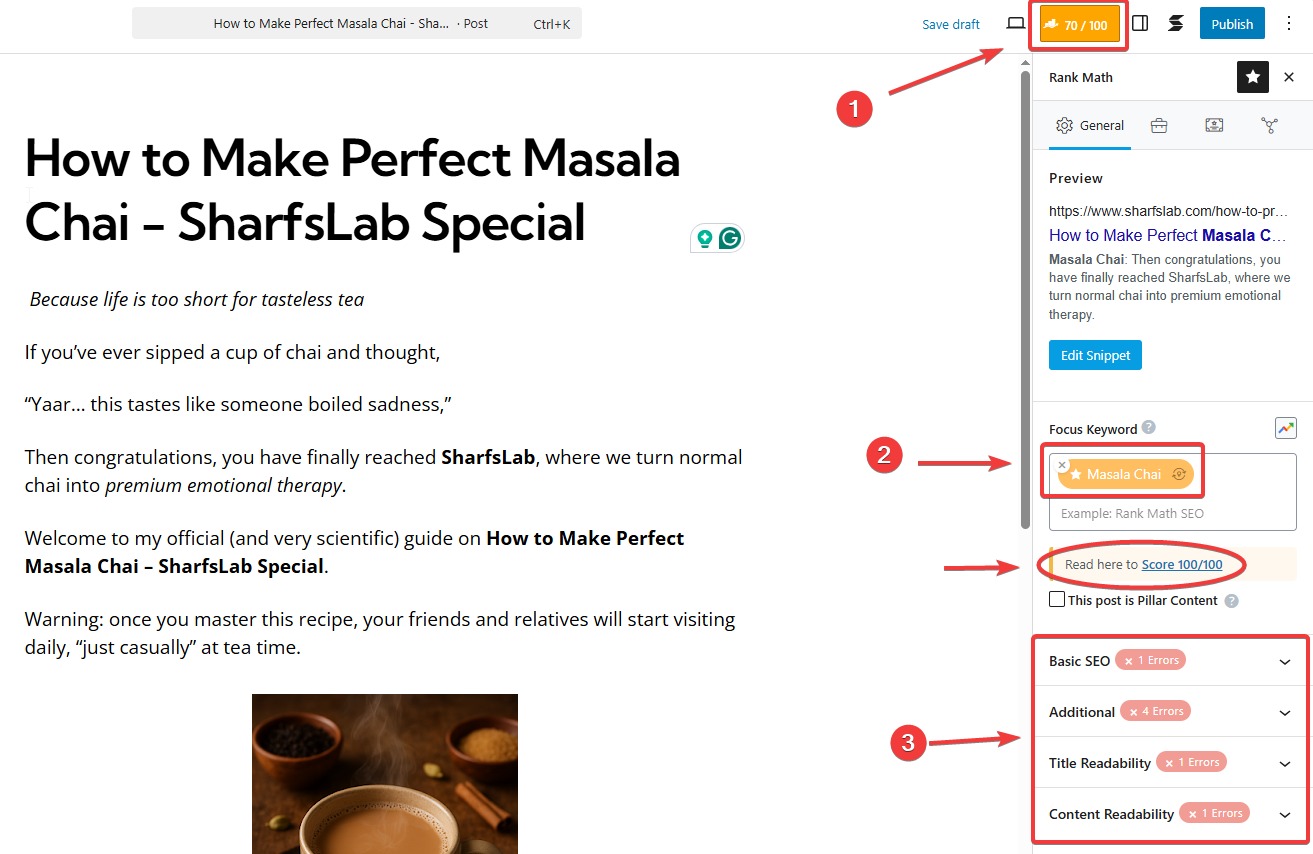
Step 9: SEO Optimization (Simple Beginner Level)
If you installed RankMath, scroll down to find:
- Focus Keyword
- SEO Title
- Meta Description
Fill them with simple, natural keywords. However, I have already covered a detailed post on How to Setup Rank Math SEO Plugin
Step 10: Preview Your Post
Click Preview and check how your article looks.
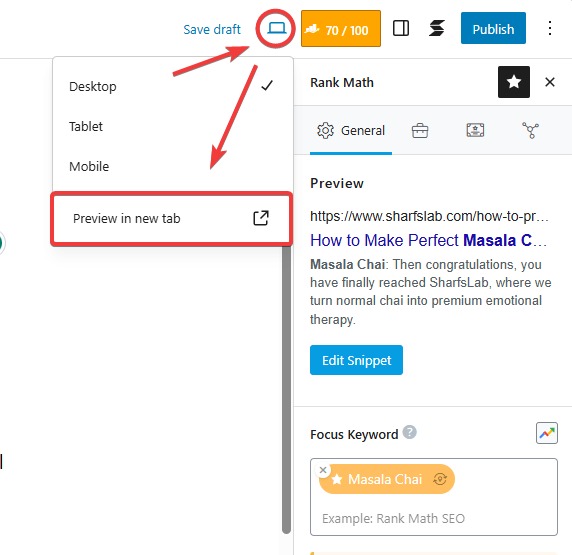
Fix spacing, images, or headings if needed.
Step 11: Publish Your Blog Post
Finally, click the Publish button in the top right corner.

Your post goes live instantly.
Conclusion
Publishing a blog post on both Blogger.com and WordPress is not difficult once you understand the steps.
Blogger is perfect for beginners who want a free and simple tool to start a blog. WordPress is for those who want to build a more professional, advanced blog with complete control.
Both platforms help you express yourself to start a blog, reach an audience, and begin your blogging journey. Just write in simple language, add good images, and stay consistent.

Leave a Comment